Cross

How to make a wax seal: Practical guide

26 February 2025

Cachet de cire mariage

Why use a wax seal?

The wax seal is an ancient art that consists of sealing a letter or document with a unique impression, generally made using melted wax and a seal. Much more than a simple sealing method, it represents authenticity, elegance and traditional know-how. Today, this technique is widely used for wedding invitations, personal invitation letters, diplomas, luxury or handcrafted packaging and gifts…

Cachet de cire réalisation

The materials needed to make a wax seal

The wax

Traditional wax comes in 3 different types: wick, soft and bank. Banked wax is the most traditional and historic form of our waxes. Soft wax is the most classic. Wick wax was invented to make it easier to use.

Creative wax comes in 22 rich, colourful shades and can be used with a wax gun.

The seal

The seal is the tool used to print a motif or initials in the melted wax. Jacques Herbin’s brass seals feature motifs or letters. It is also possible to personalise the seal with our team or simply make your own initials using our kit.

A source of heat

To melt the wax, you need a candle, a hot glue gun or a wax spoon. The aim is to heat the wax until it is liquid enough to pour onto the surface to be sealed.

A support

The surface on which you are going to place your seal can be an envelope, a card, a document or any other type of surface on which you wish to place your seal.

Etape cachet de cire

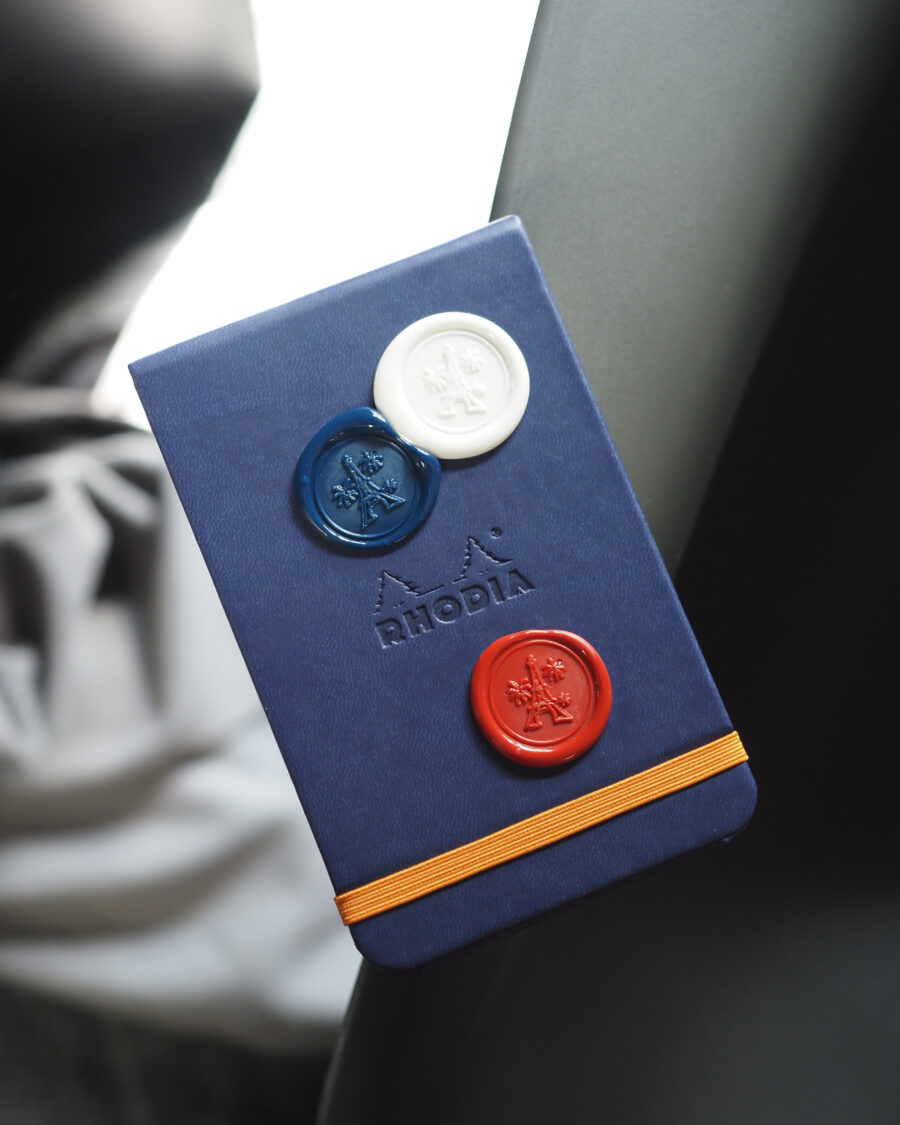
Steps for making a wax seal

Prepare the materials

First of all, make sure you have all the necessary tools to hand. If you’re using a candle, light it and let the wax melt slowly. If you’re using a glue gun or wax spoon, heat the wax until it’s liquid.
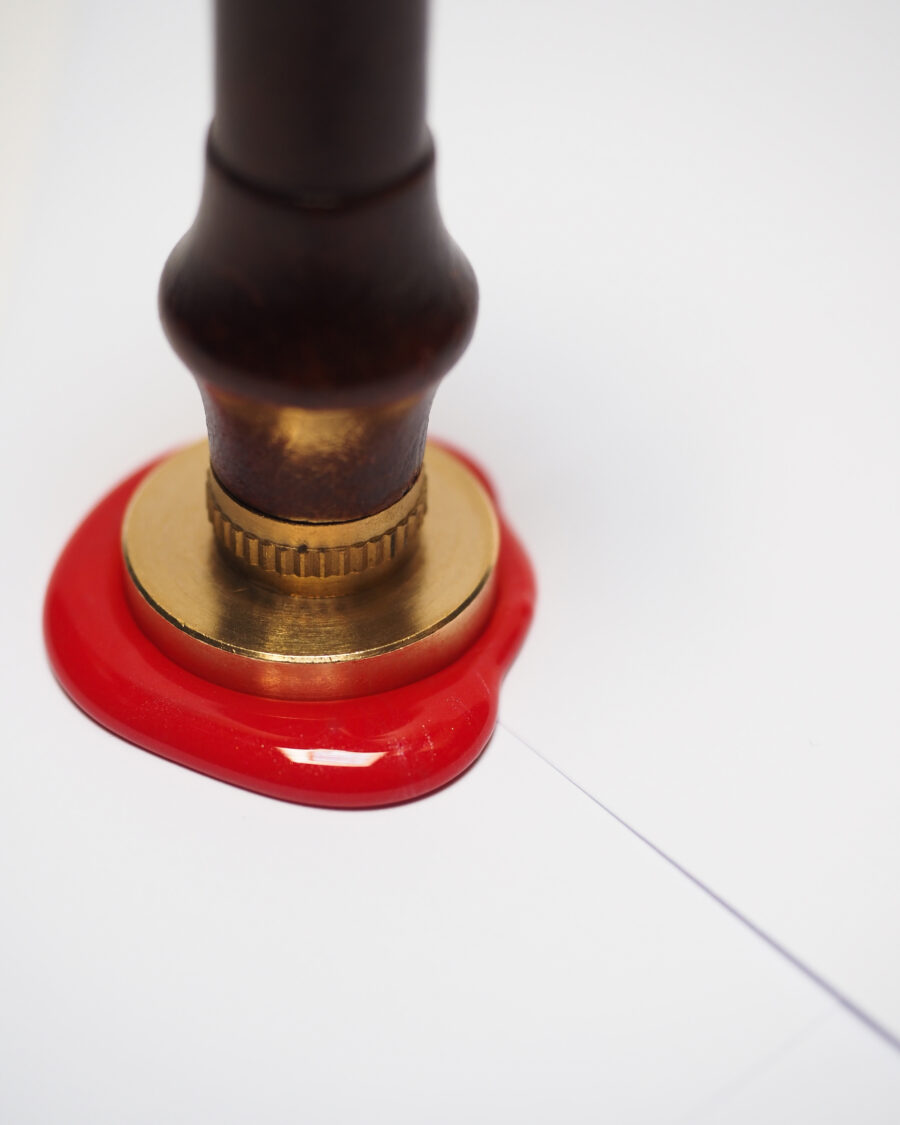
Melting the wax

Once the wax has been heated, place it on the surface of the envelope or document. You can pour the wax in small circles to create a sufficient quantity or simply make a drop, depending on the size of seal you want.

Applying the seal

When the wax is still liquid, gently place the seal on top and press firmly to leave an imprint. It’s important not to leave the seal on for too long to prevent the wax from solidifying before the impression is made.

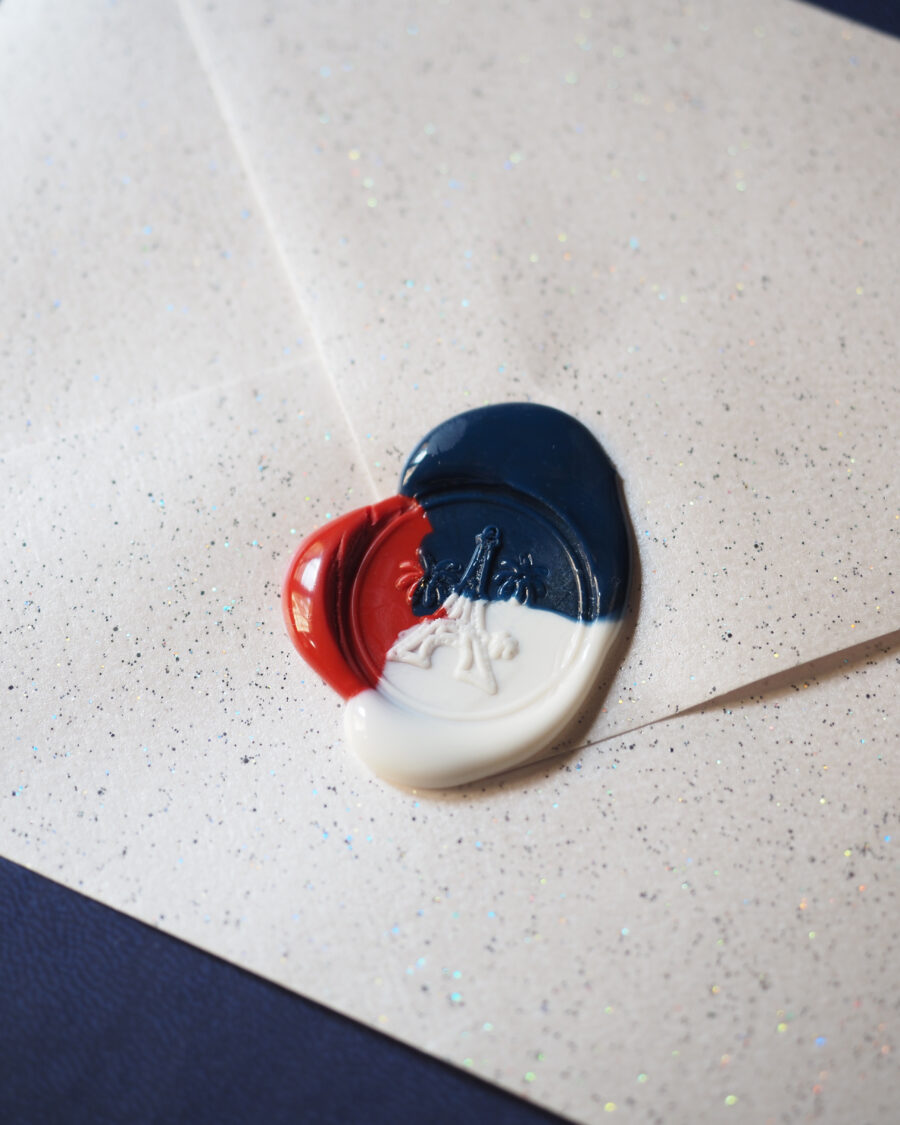
Allow the wax to harden

Leave the wax to cool for a few minutes. Once hardened, you can remove the seal, taking care not to damage the impression.

Adjust if necessary

If you’re not happy with the first impression, you can always melt a little more wax and reapply the seal.

Cachet de cire 3 couleurs

Tips for a successful wax seal

Do not overheat the wax

If the wax is too hot, it may warp and not print properly. A wax melted at around 70°C is ideal.

Allow the seal to cool

If you want to make several stamps in a row using the same seal, we recommend that you cool your seal after each use. For example, prepare a bowl of ice cubes next to you, dip the seal in them, dry the seal with a clean cloth and seal!

Ensure alignment

If you’re making several seals, make sure they’re all aligned for a good look.

Use appropriate colours

Choose a wax colour that contrasts with the substrate so that the seal is clearly visible.

Test before finalising

Before stamping your final document, do a few tests to get the hang of it.