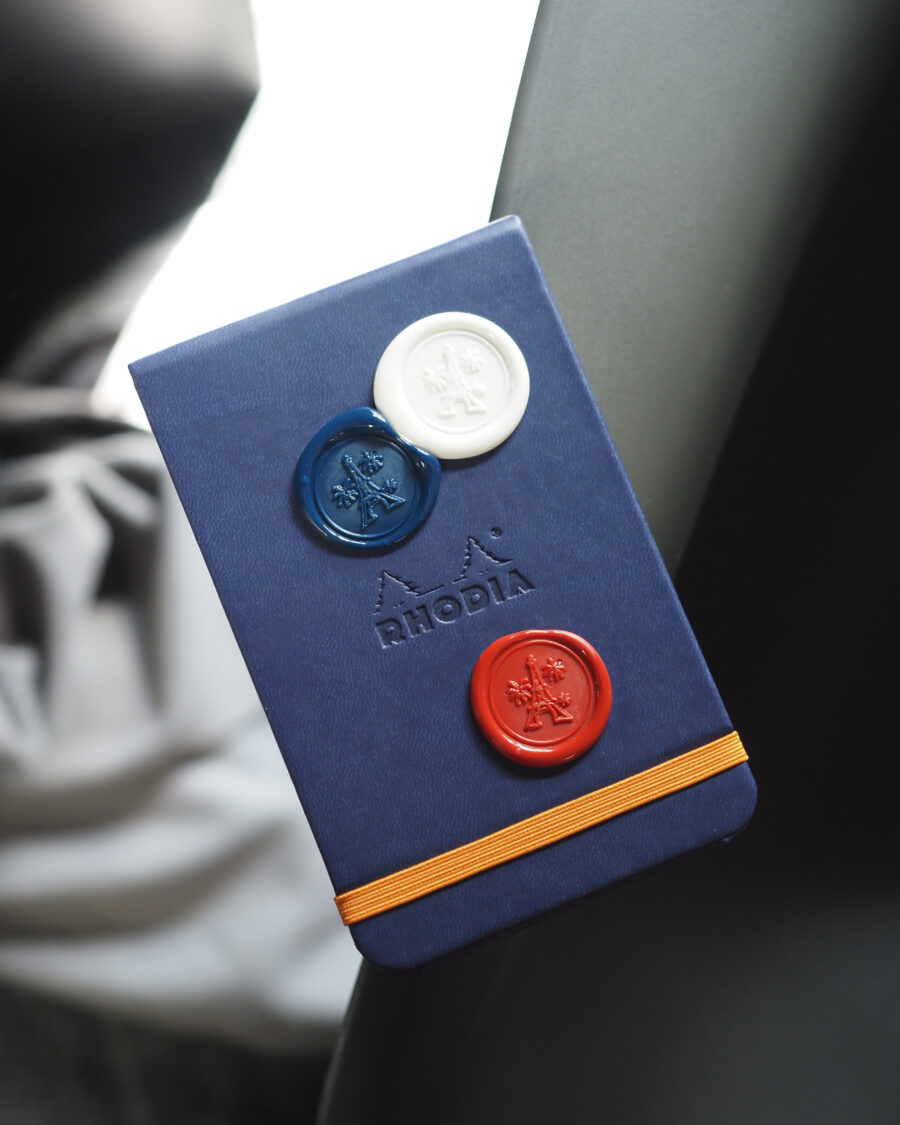
Etapes de réalisation d’un cachet de cire
Préparer les matériaux
Tout d’abord, assurez-vous d’avoir tous les outils nécessaires à portée de main. Si vous utilisez une bougie, allumez-la et laissez la cire fondre lentement. Si vous utilisez un pistolet à colle ou une cuillère à cire, chauffez la cire jusqu’à ce qu’elle soit liquide.
Faire fondre la cire
Une fois la cire chauffée, déposez-la sur la surface de l’enveloppe ou du document. Vous pouvez verser la cire en petits cercles pour créer une quantité suffisante ou simplement faire une goutte, en fonction de la taille du cachet que vous souhaitez obtenir.
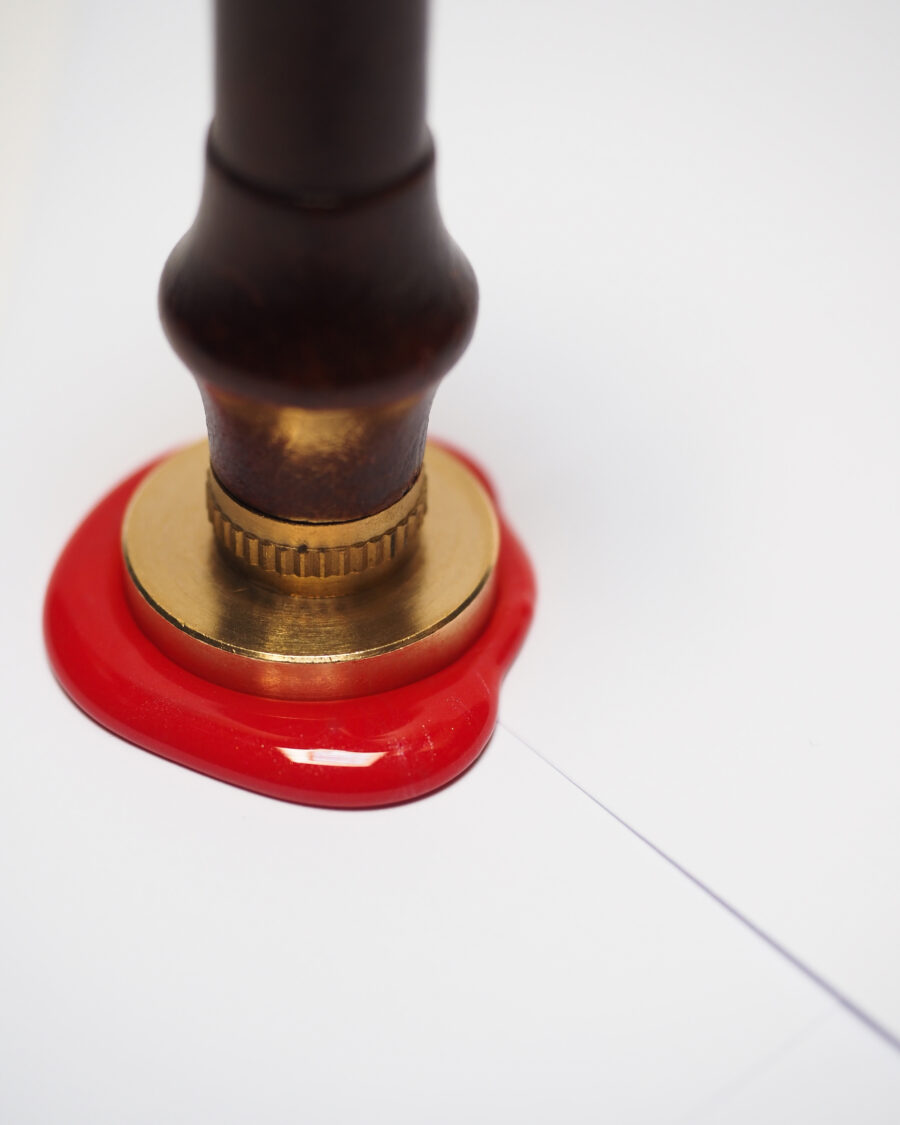
Application du cachet
Lorsque la cire est encore liquide, placez délicatement le cachet dessus et appuyez fermement pour laisser une empreinte. Il est important de ne pas laisser le sceau en place trop longtemps afin d’éviter que la cire ne se solidifie avant que l’empreinte ne soit prise.
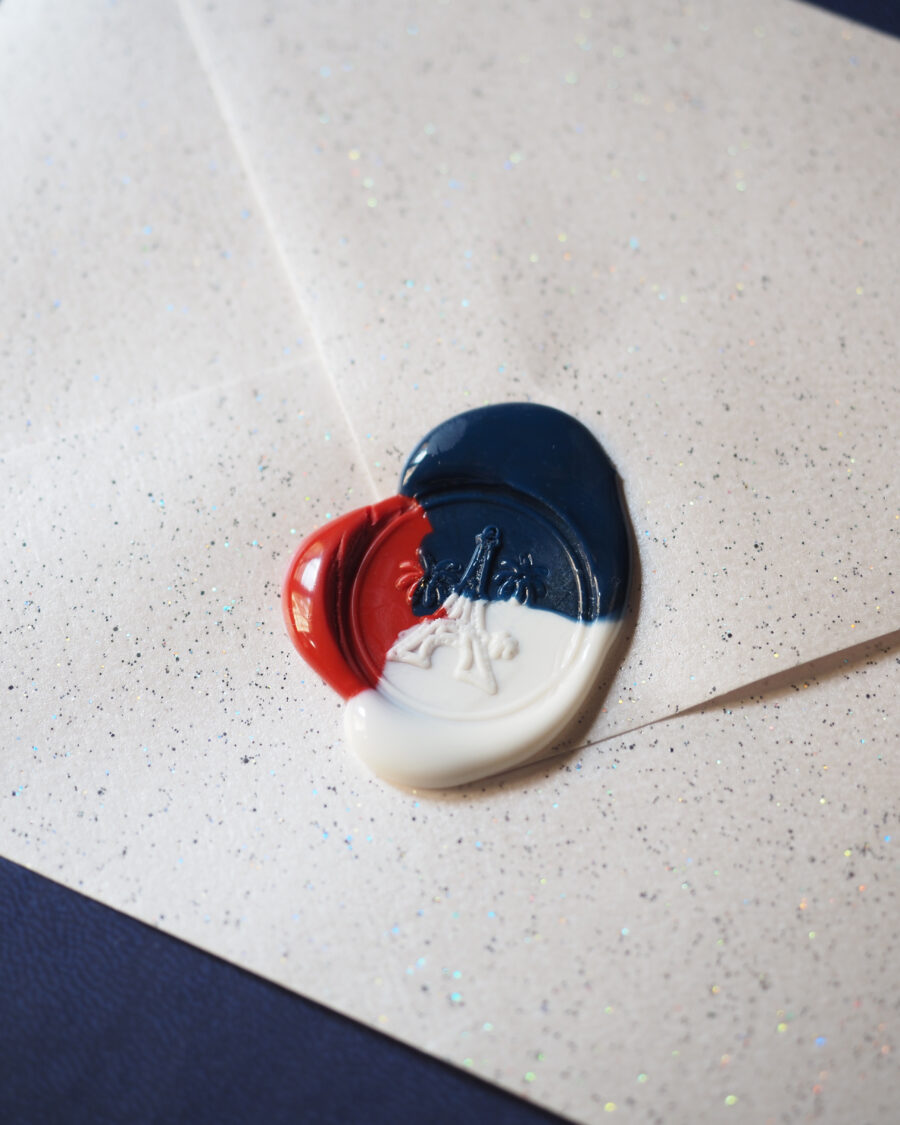
Laisser la cire durcir
Laissez la cire refroidir pendant quelques minutes. Une fois durcie, vous pouvez retirer le sceau, en veillant à ne pas endommager l’empreinte.
Ajustez si nécessaire
Si vous n’êtes pas satisfait de la première impression, vous pouvez toujours faire fondre un peu plus de cire et réappliquer le sceau.